Categories
Uncategorised

Brakes

Have just completed replacing the front disc and pads on the driver’s side. New EBC Green Stuff pads, generic disc, pushed through new fluid, de-rusted and a quick coat of satin black while I was there.

First time doing brakes and there had to be a hailstorm… https://youtu.be/FtTNfABzvGg

Categories
Uncategorised

Power Steering take 2

In the last post I talked about the need to replace a perished power steering hose. Well today I got the job done. Well, tried to.

Ta da, new pipe fitted.

Then I put some ATF fluid in – Dexron II or M-III or equivalent – started ‘er up, and moved the steering wheel between opposite locks a few times. The power steering was clearly working, but I nipped around the front and oil was getting thrown around the engine bay. Quickly turned it off and identified the source as one of the unions I’d just installed the new rubber hose on. It’s the right hand end of this metal pipe.

To be fair it did look a bit dodgy- with some rust under where the clamp sits- but I thought I’d try it anyway.

Looks like I’m going to be replacing the whole of that pipe run. It’s pretty badly corroded anyway- the fasteners might be fun to get undone without shearing off- but I’ll start soaking them with penetrating oil and start looking for the part.

More soon…

Categories
Uncategorised

Power Steering

So in my last post I touched on how I disturbed the power steering pipework and it’s sprung a leak.

I removed and cleaned up the offending rubber pipe, and it looks like it’s just flared a little at one end. Seems like an obvious thing to just replace.

Just need to work out what spec of hose to buy and where from…

Can reuse the original clips, they’re fine, and the procedure to refill the system doesn’t look too bad.

The manual I’m using, by the way, is this:

which as you can see is pretty well worn. But it’s brilliant. They bought a two year old car, disassembled it, then rebuilt it, and documented every step.

Categories
Uncategorised

Cooling

When I ran the car the plan was to get it up to temperature then change the oil. However I noticed the temperature gauge crept over half, which lead me to look at the coolant situation. Should have been the first thing I checked!

What I found was that the radiator had clearly developed a hole – old coolant clearly visible around the bottom of the radiator – and would need replacing.

New radiators are easily available and the workshop manual suggested it was easy enough, so another job I could do.

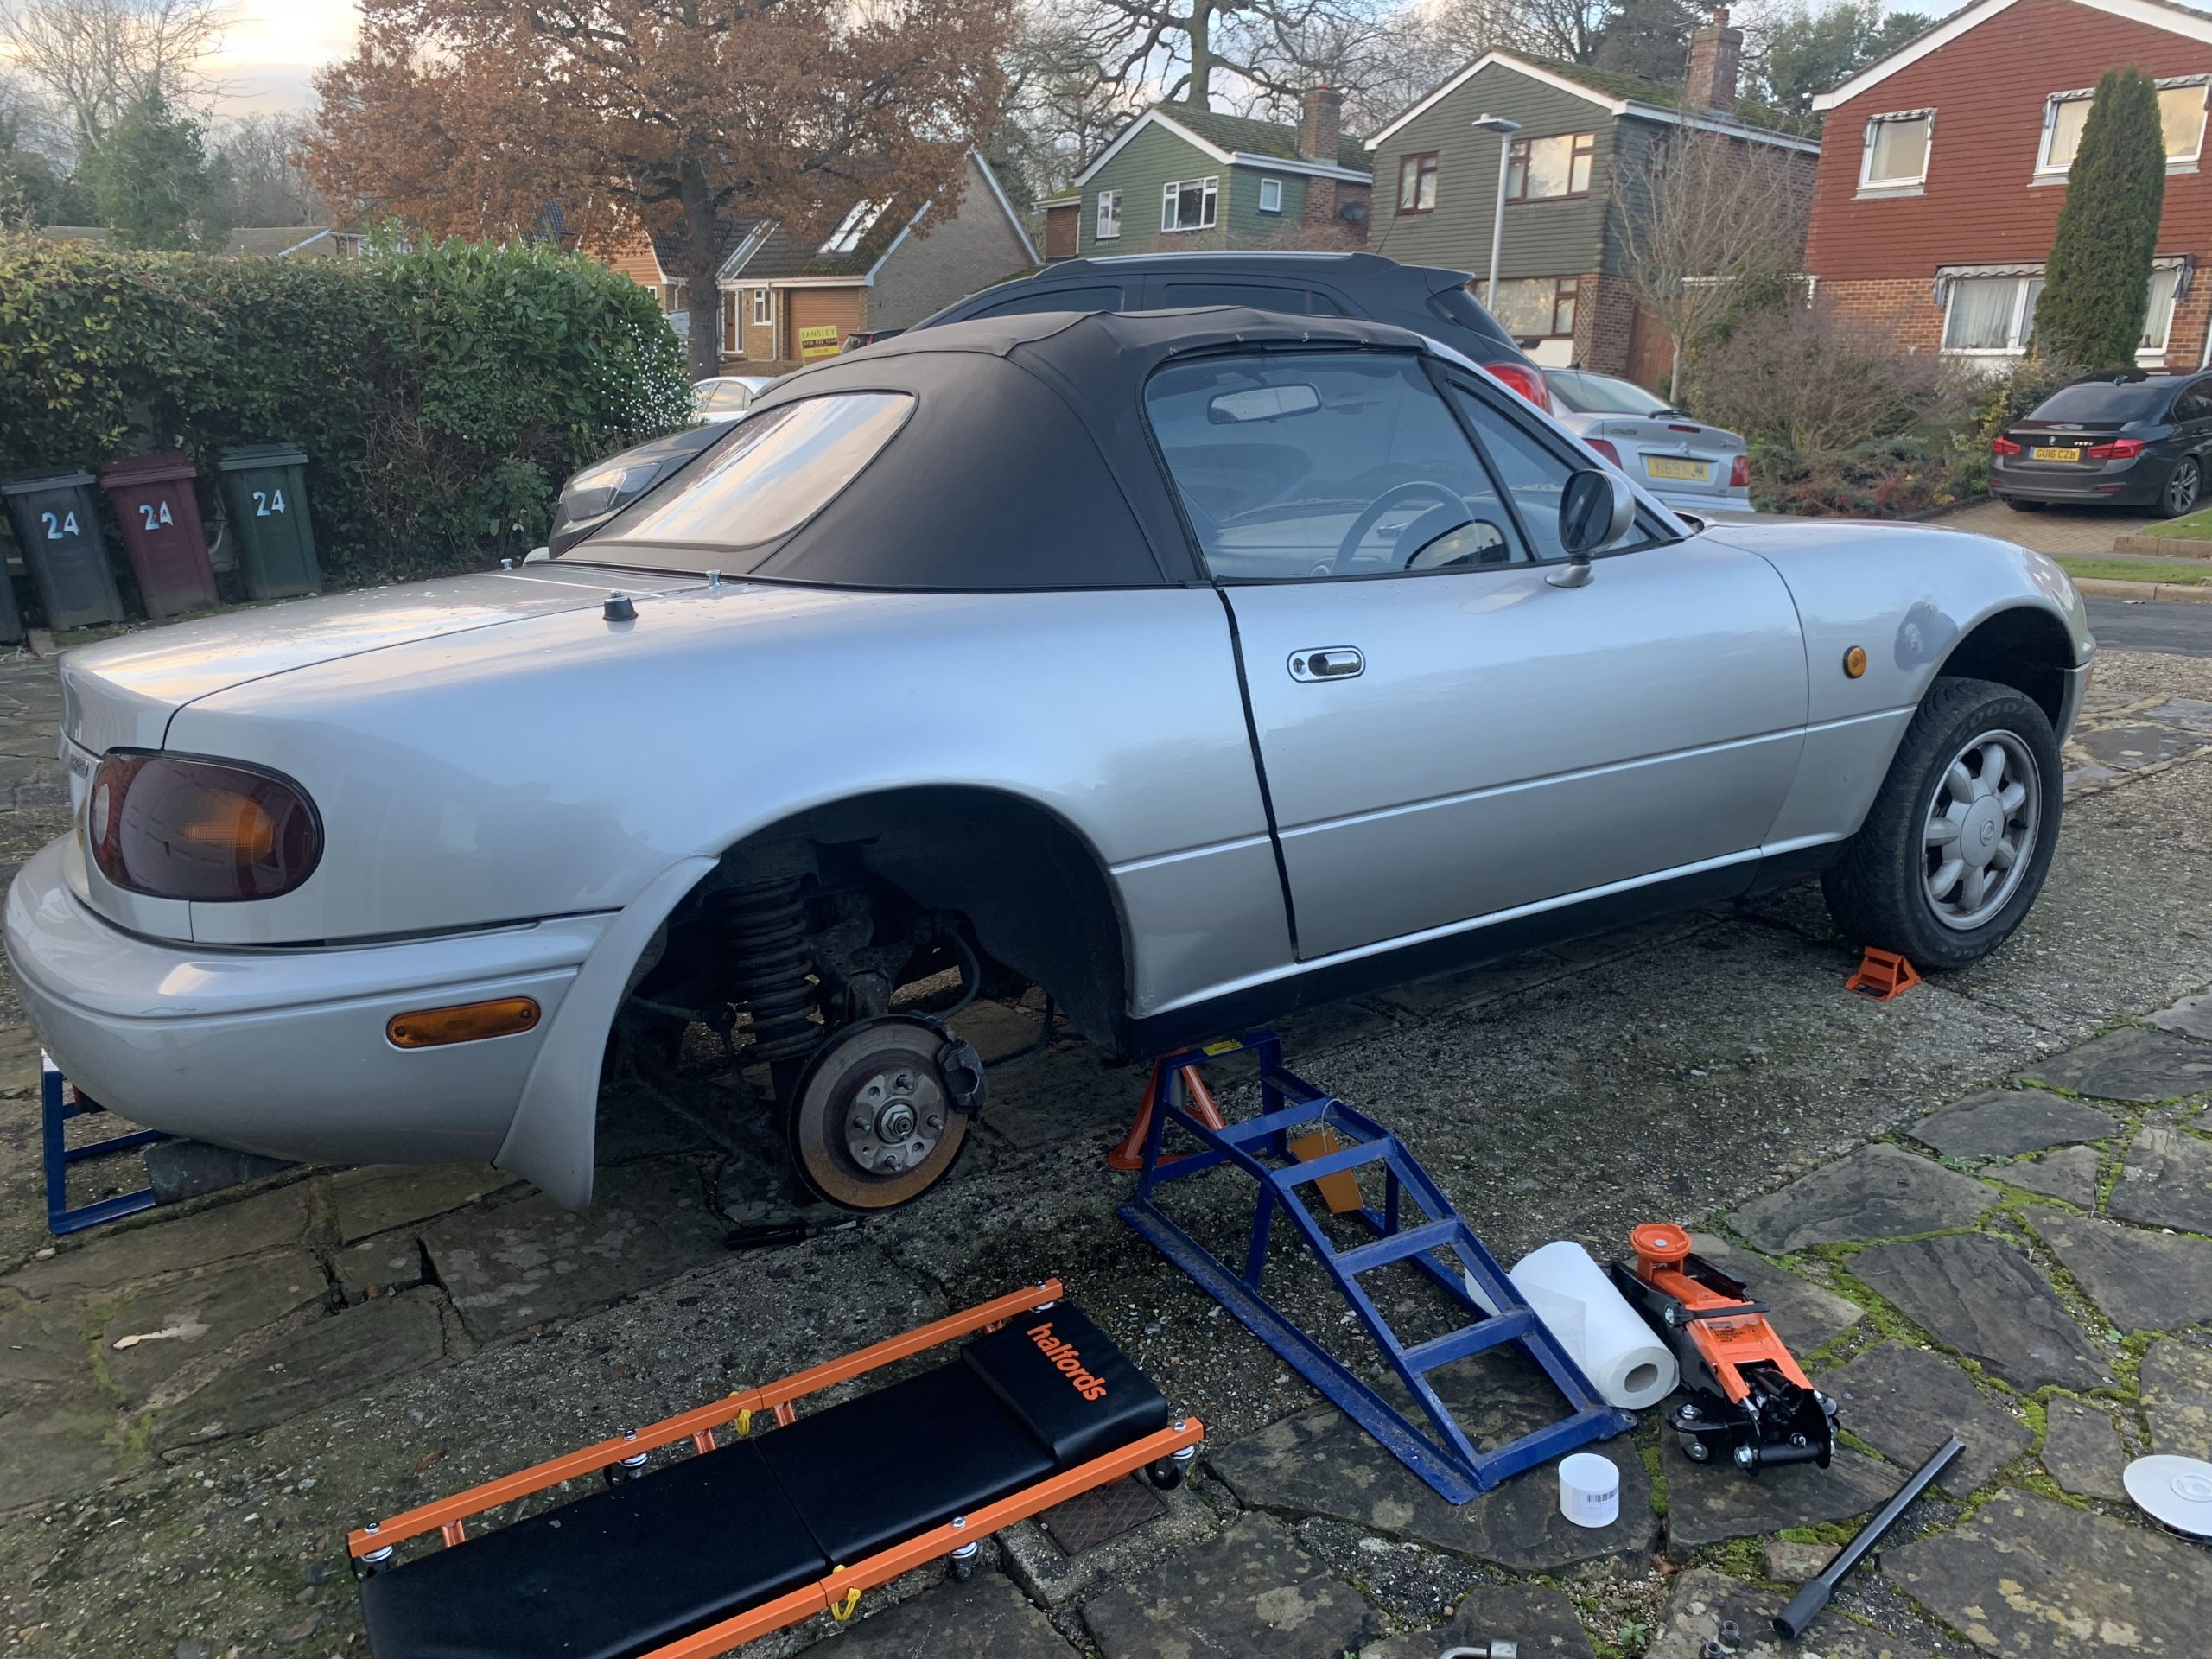
Following weekend, I flushed out the system through the old radiator (top hose just disconnected, garden hose in the top of the radiator) and removed the old radiator. Lots of corrosion around the bottom of the brackets, so some Kurust on that to stabilise things. This also required removing the undertray, and I have one or two sheared bolts to resolve now.

Then I fitted the new radiator, more flushing, then new coolant.

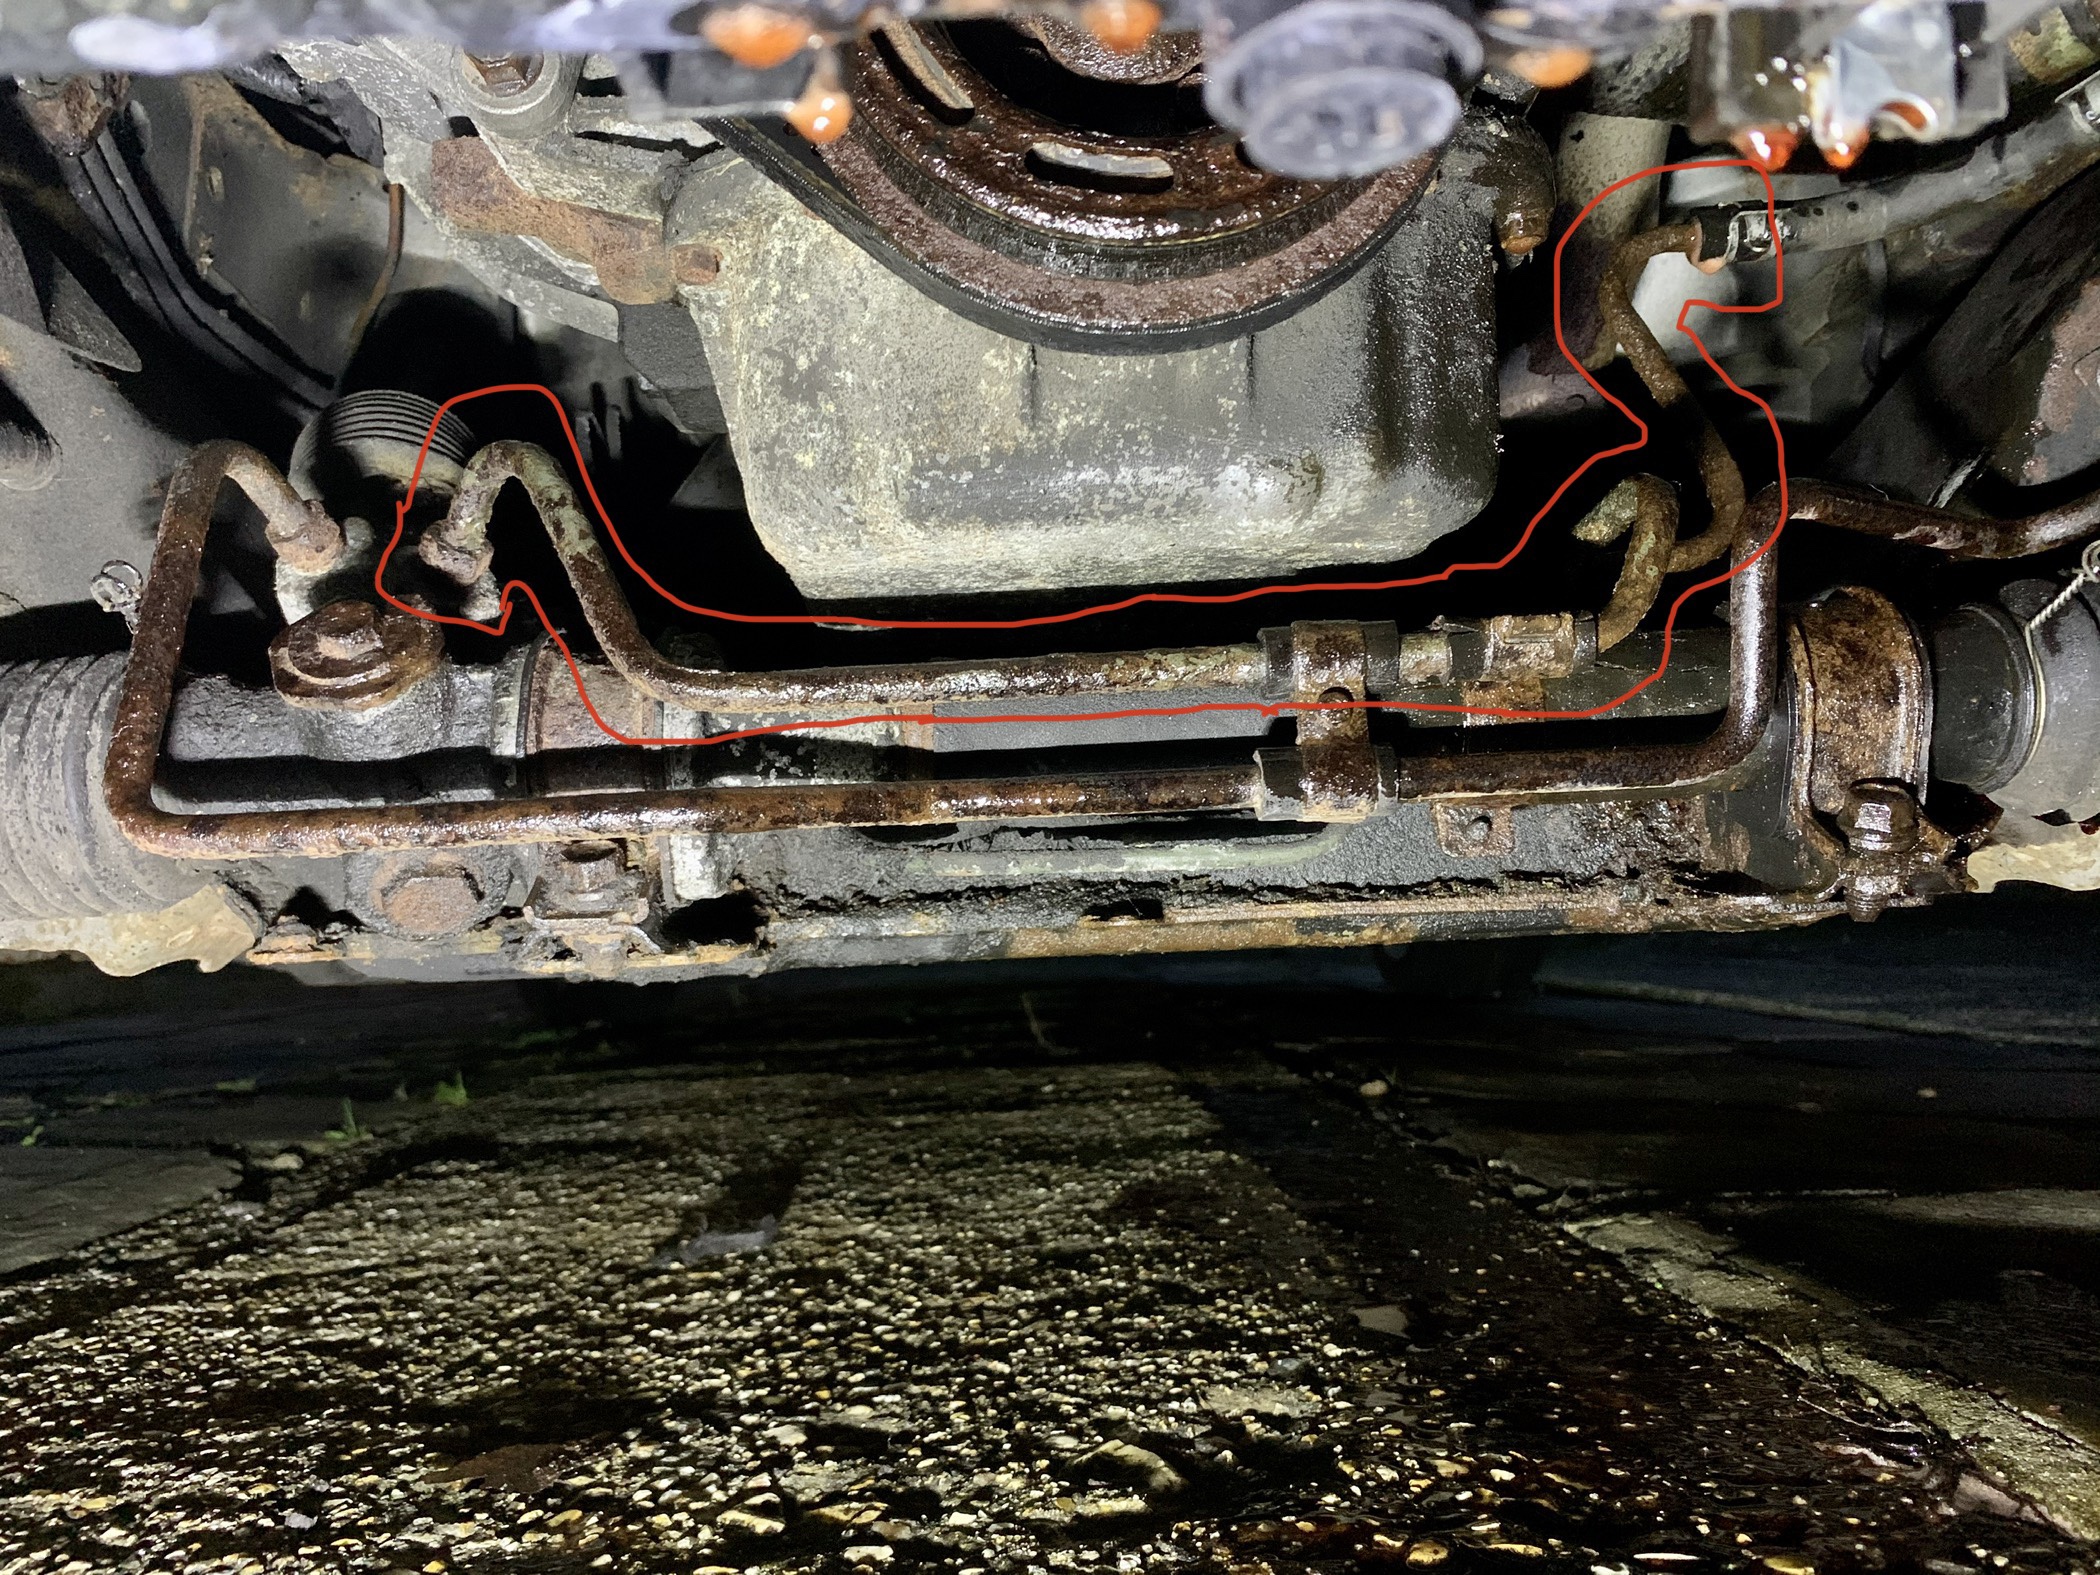
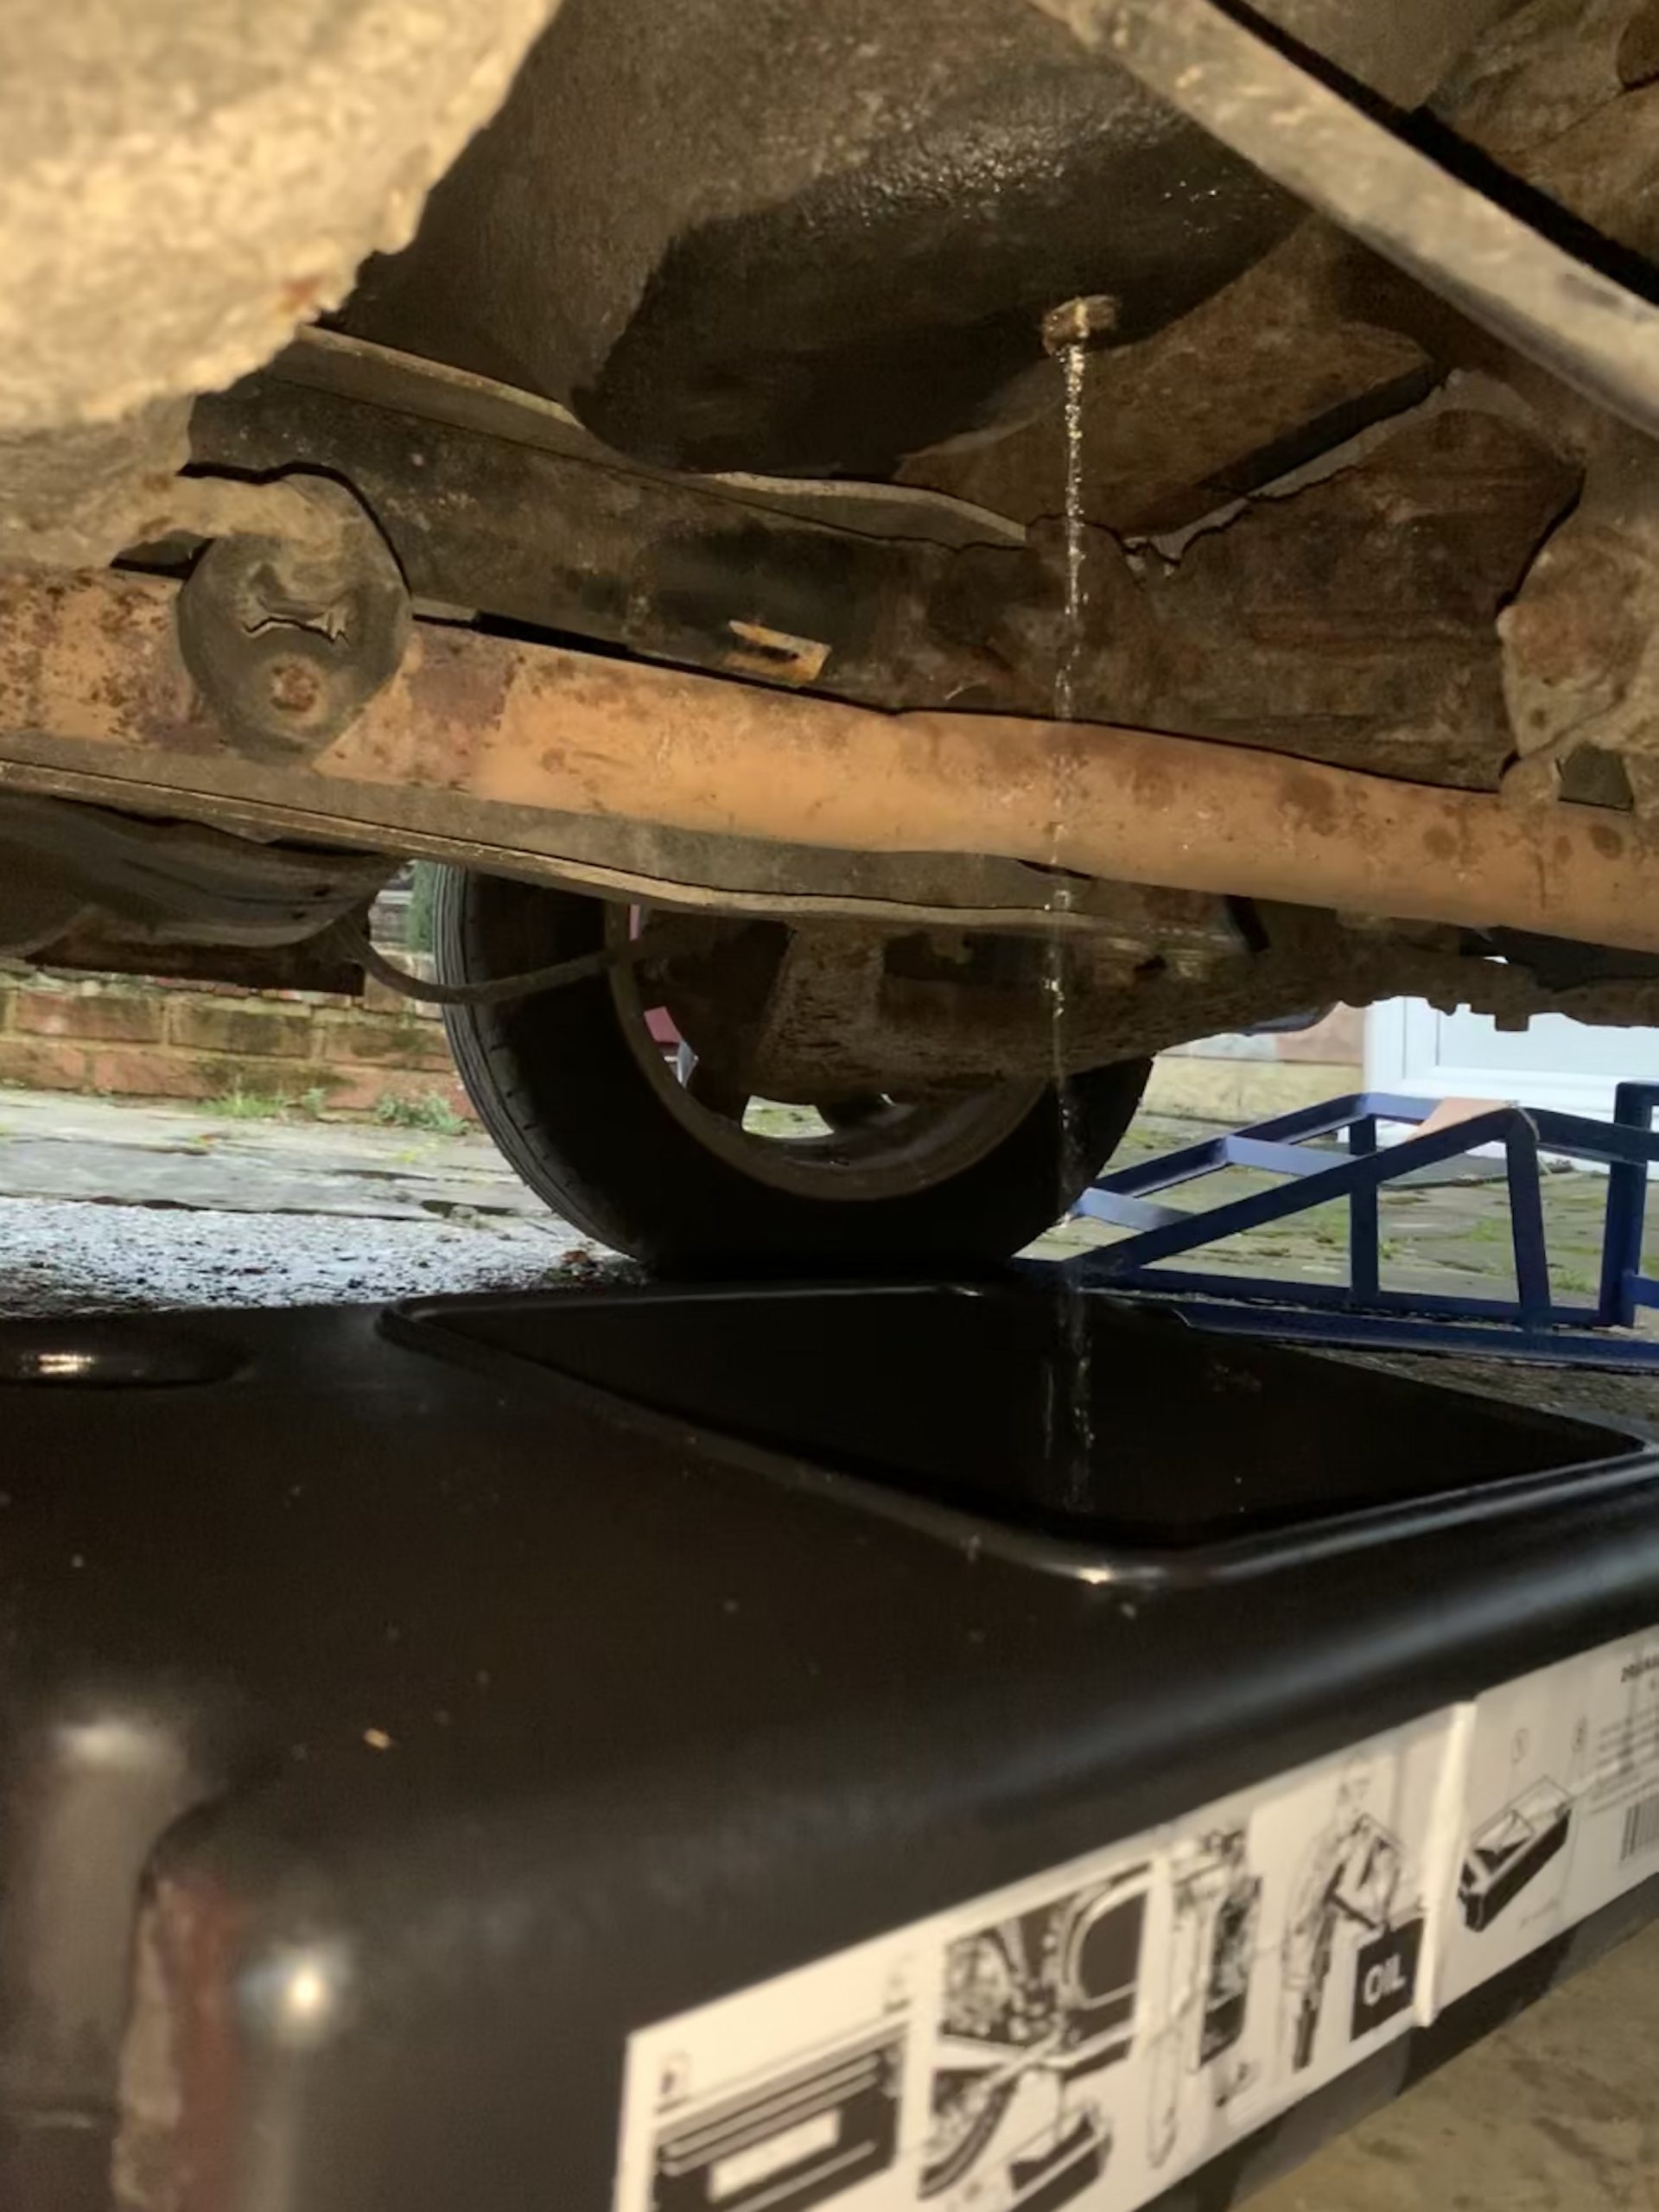
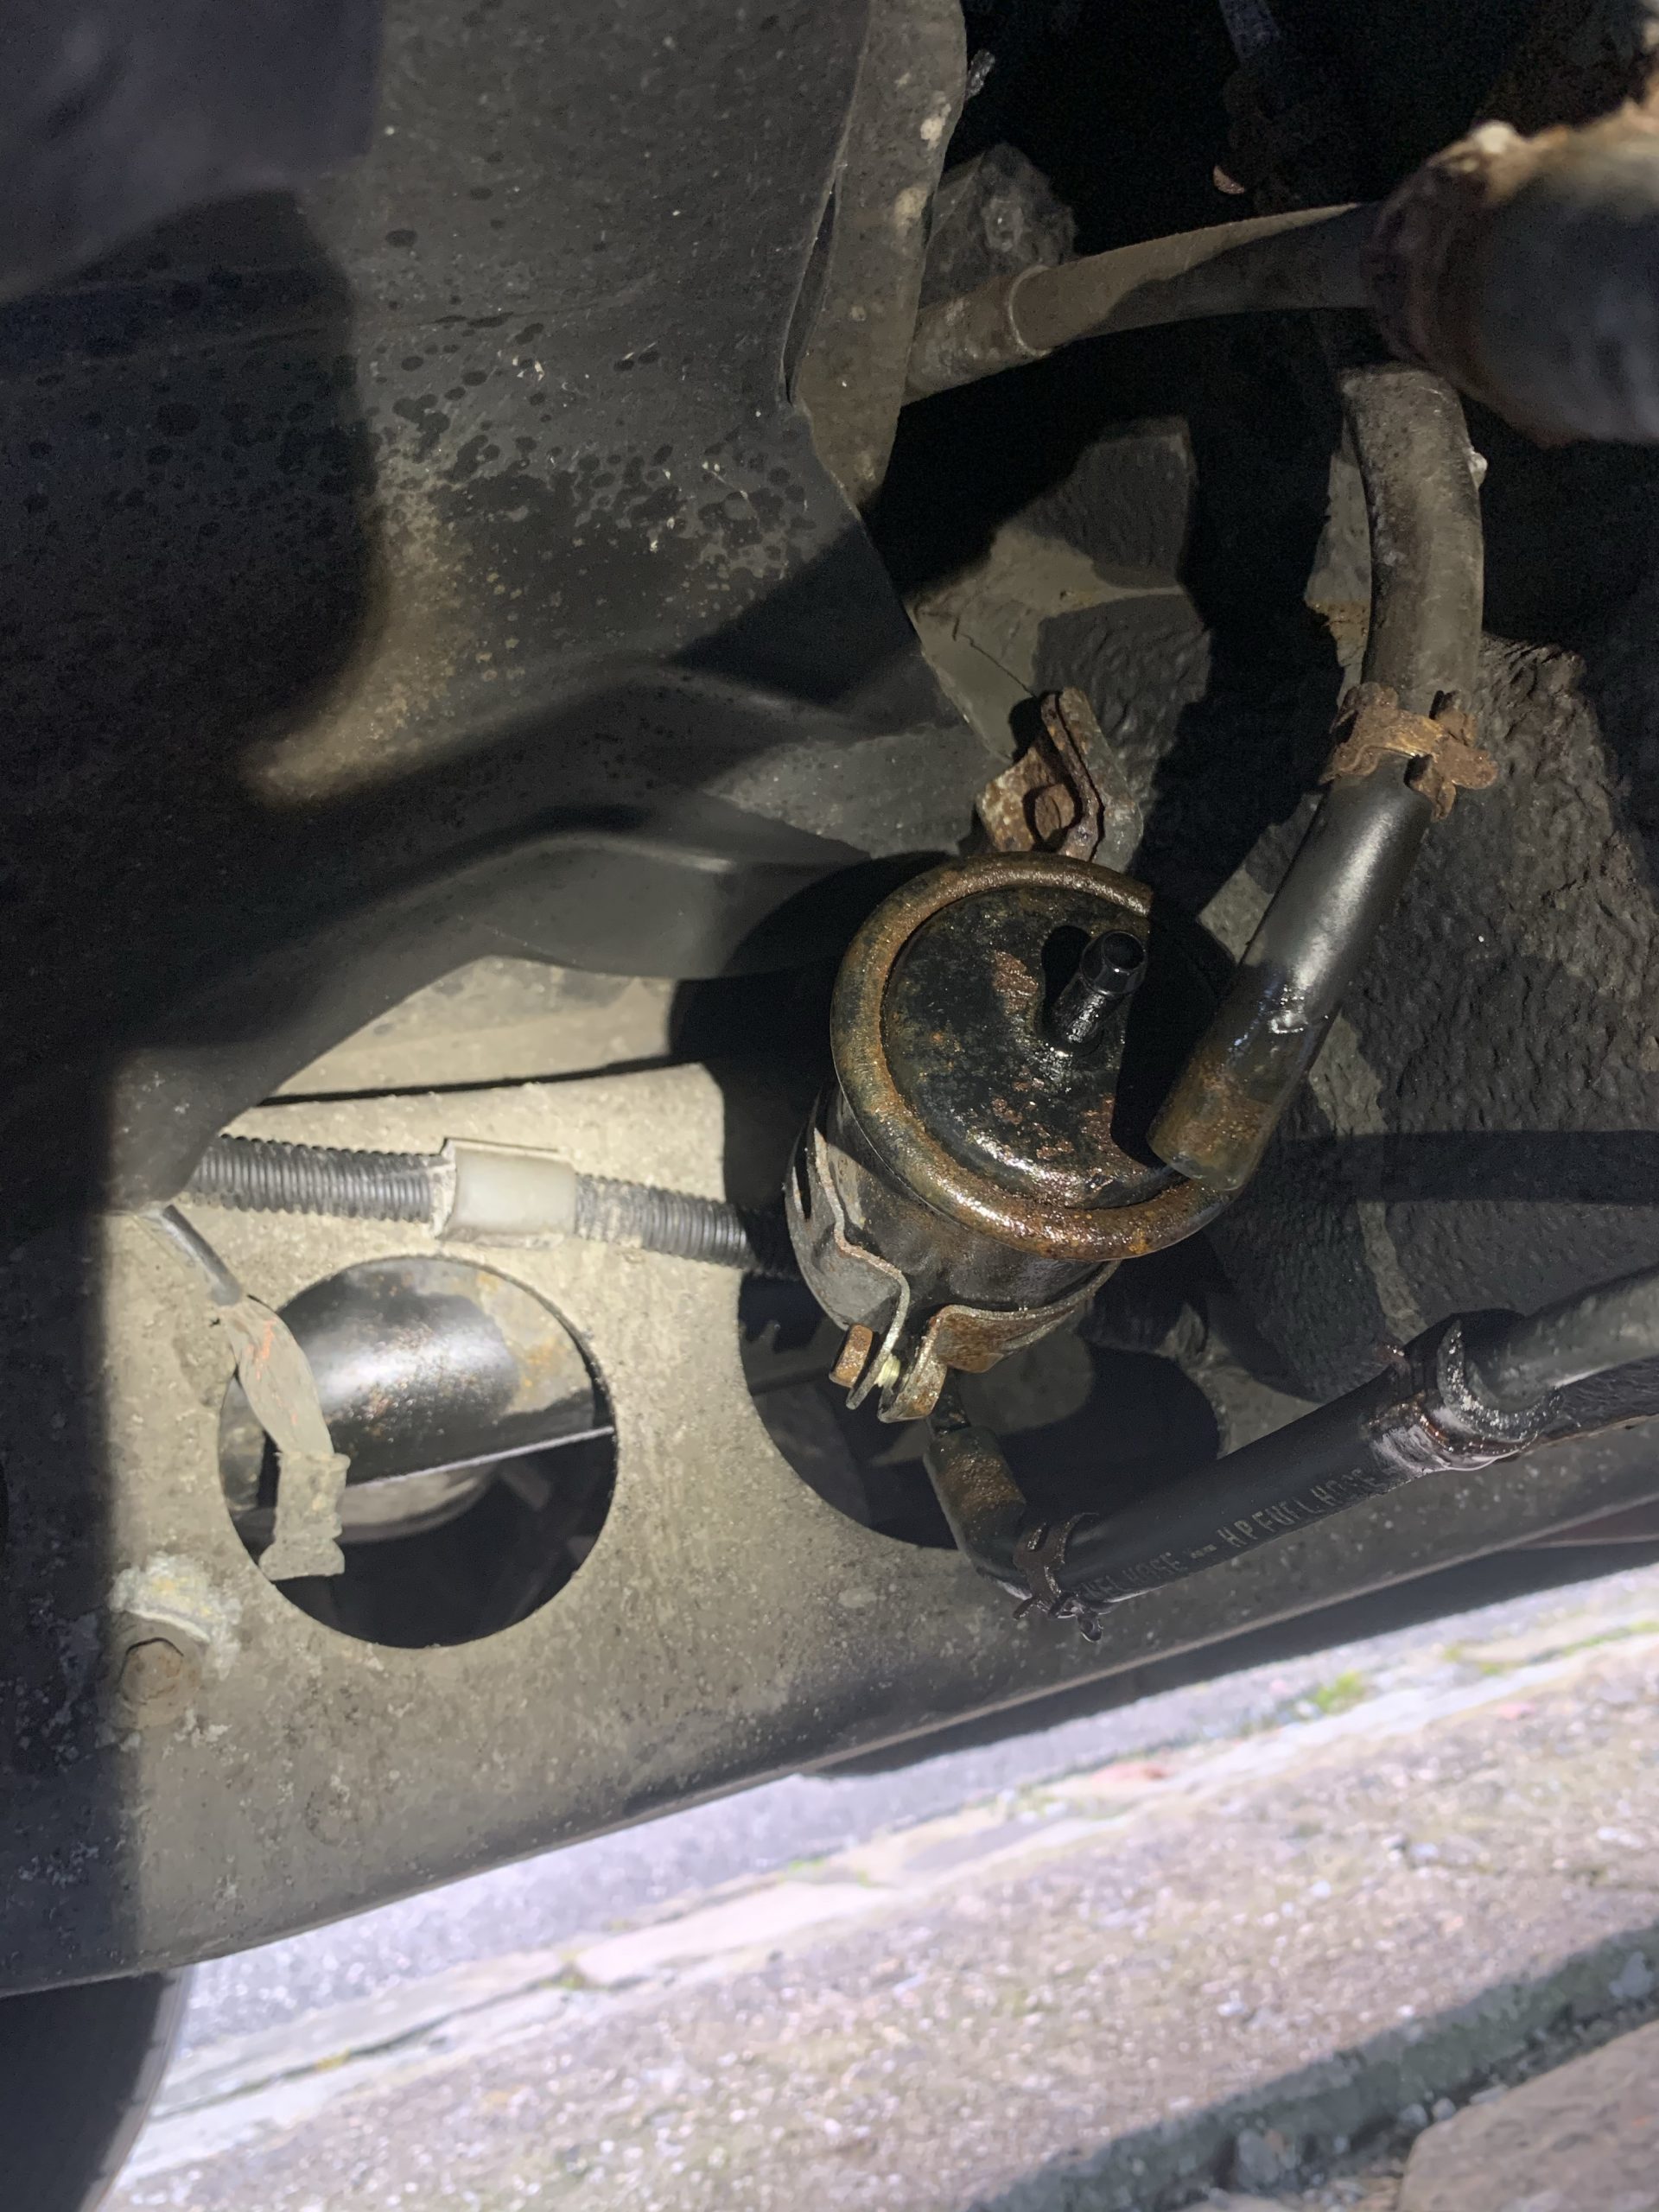
However, when I started the engine, I found this:

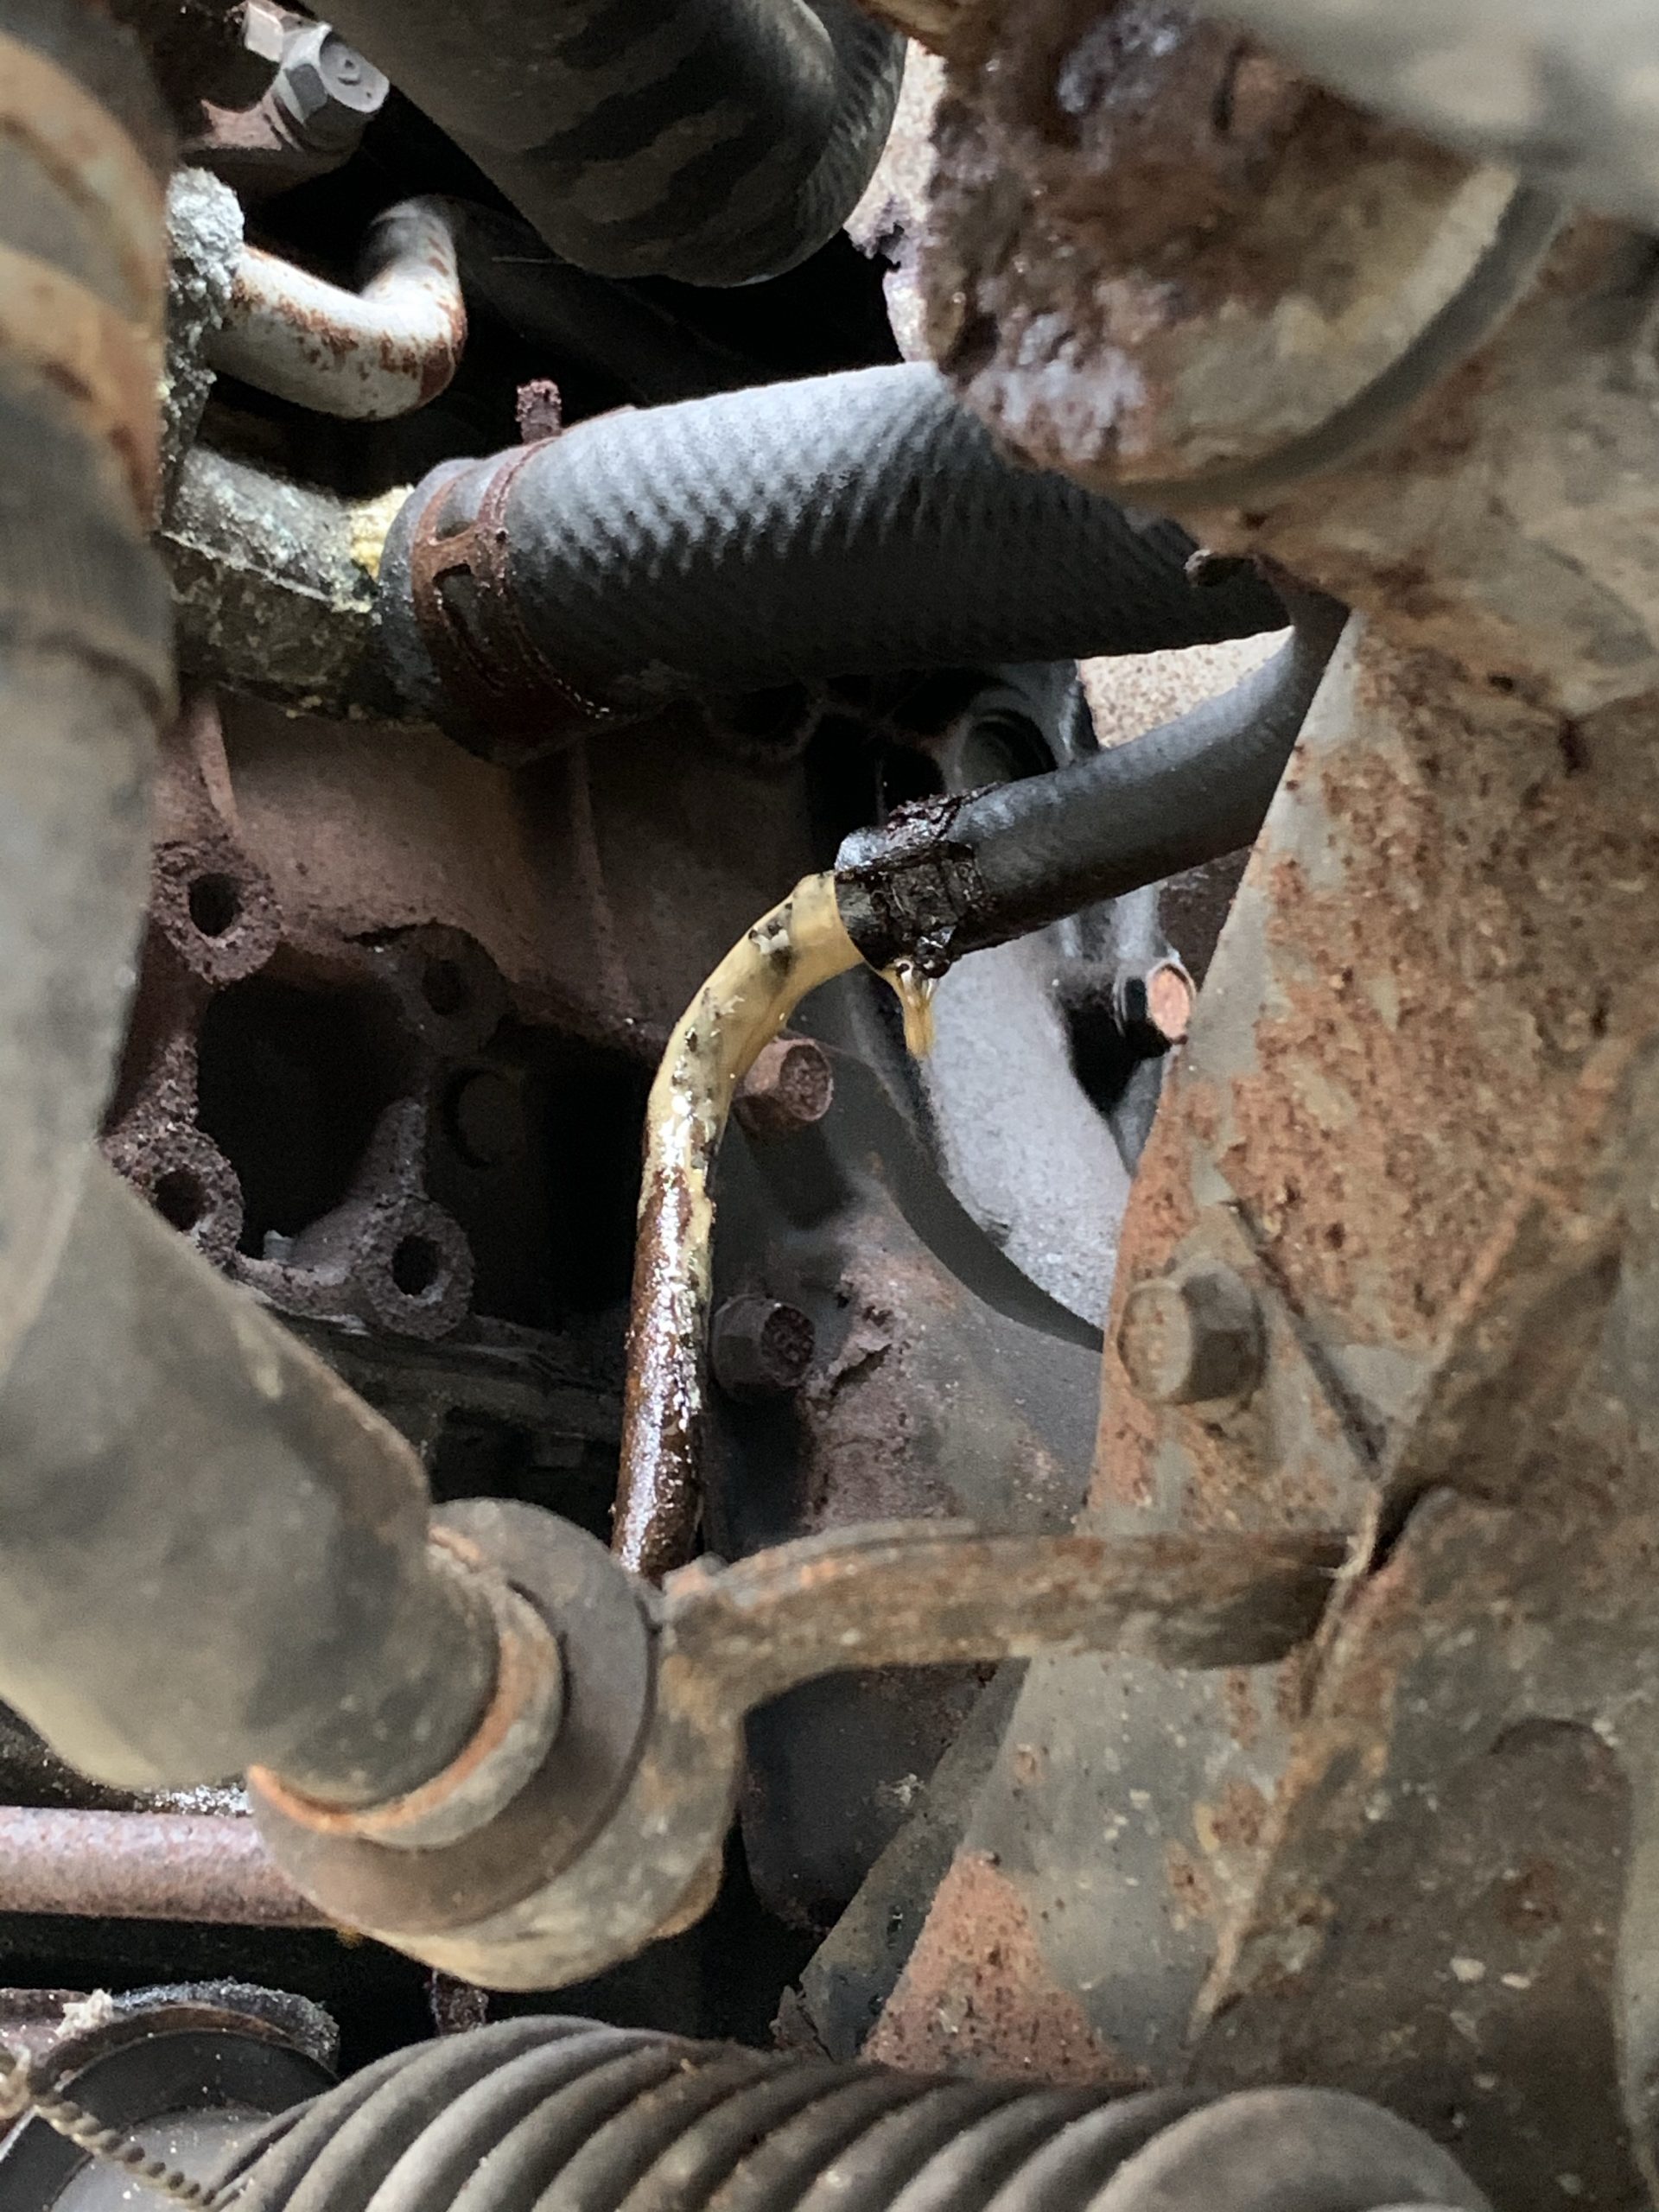
Quickly traced to the power steering system- it doesn’t look too bad to sort- I suspect I disturbed the rust that was keeping it fluid-tight. Better it lets go now than during use! Another post on this shortly.

I also noticed the radiator fan never kicked in. It’s possible to diagnose the radiator fan and relay on the MX-5 by shorting a pin in the diagnostic connector to ground and checking the fan runs. The workshop manual suggests the next thing to check is the thermoswitch on the front of the engine. Method: pull the sensor, check it for continuity in boiling water.

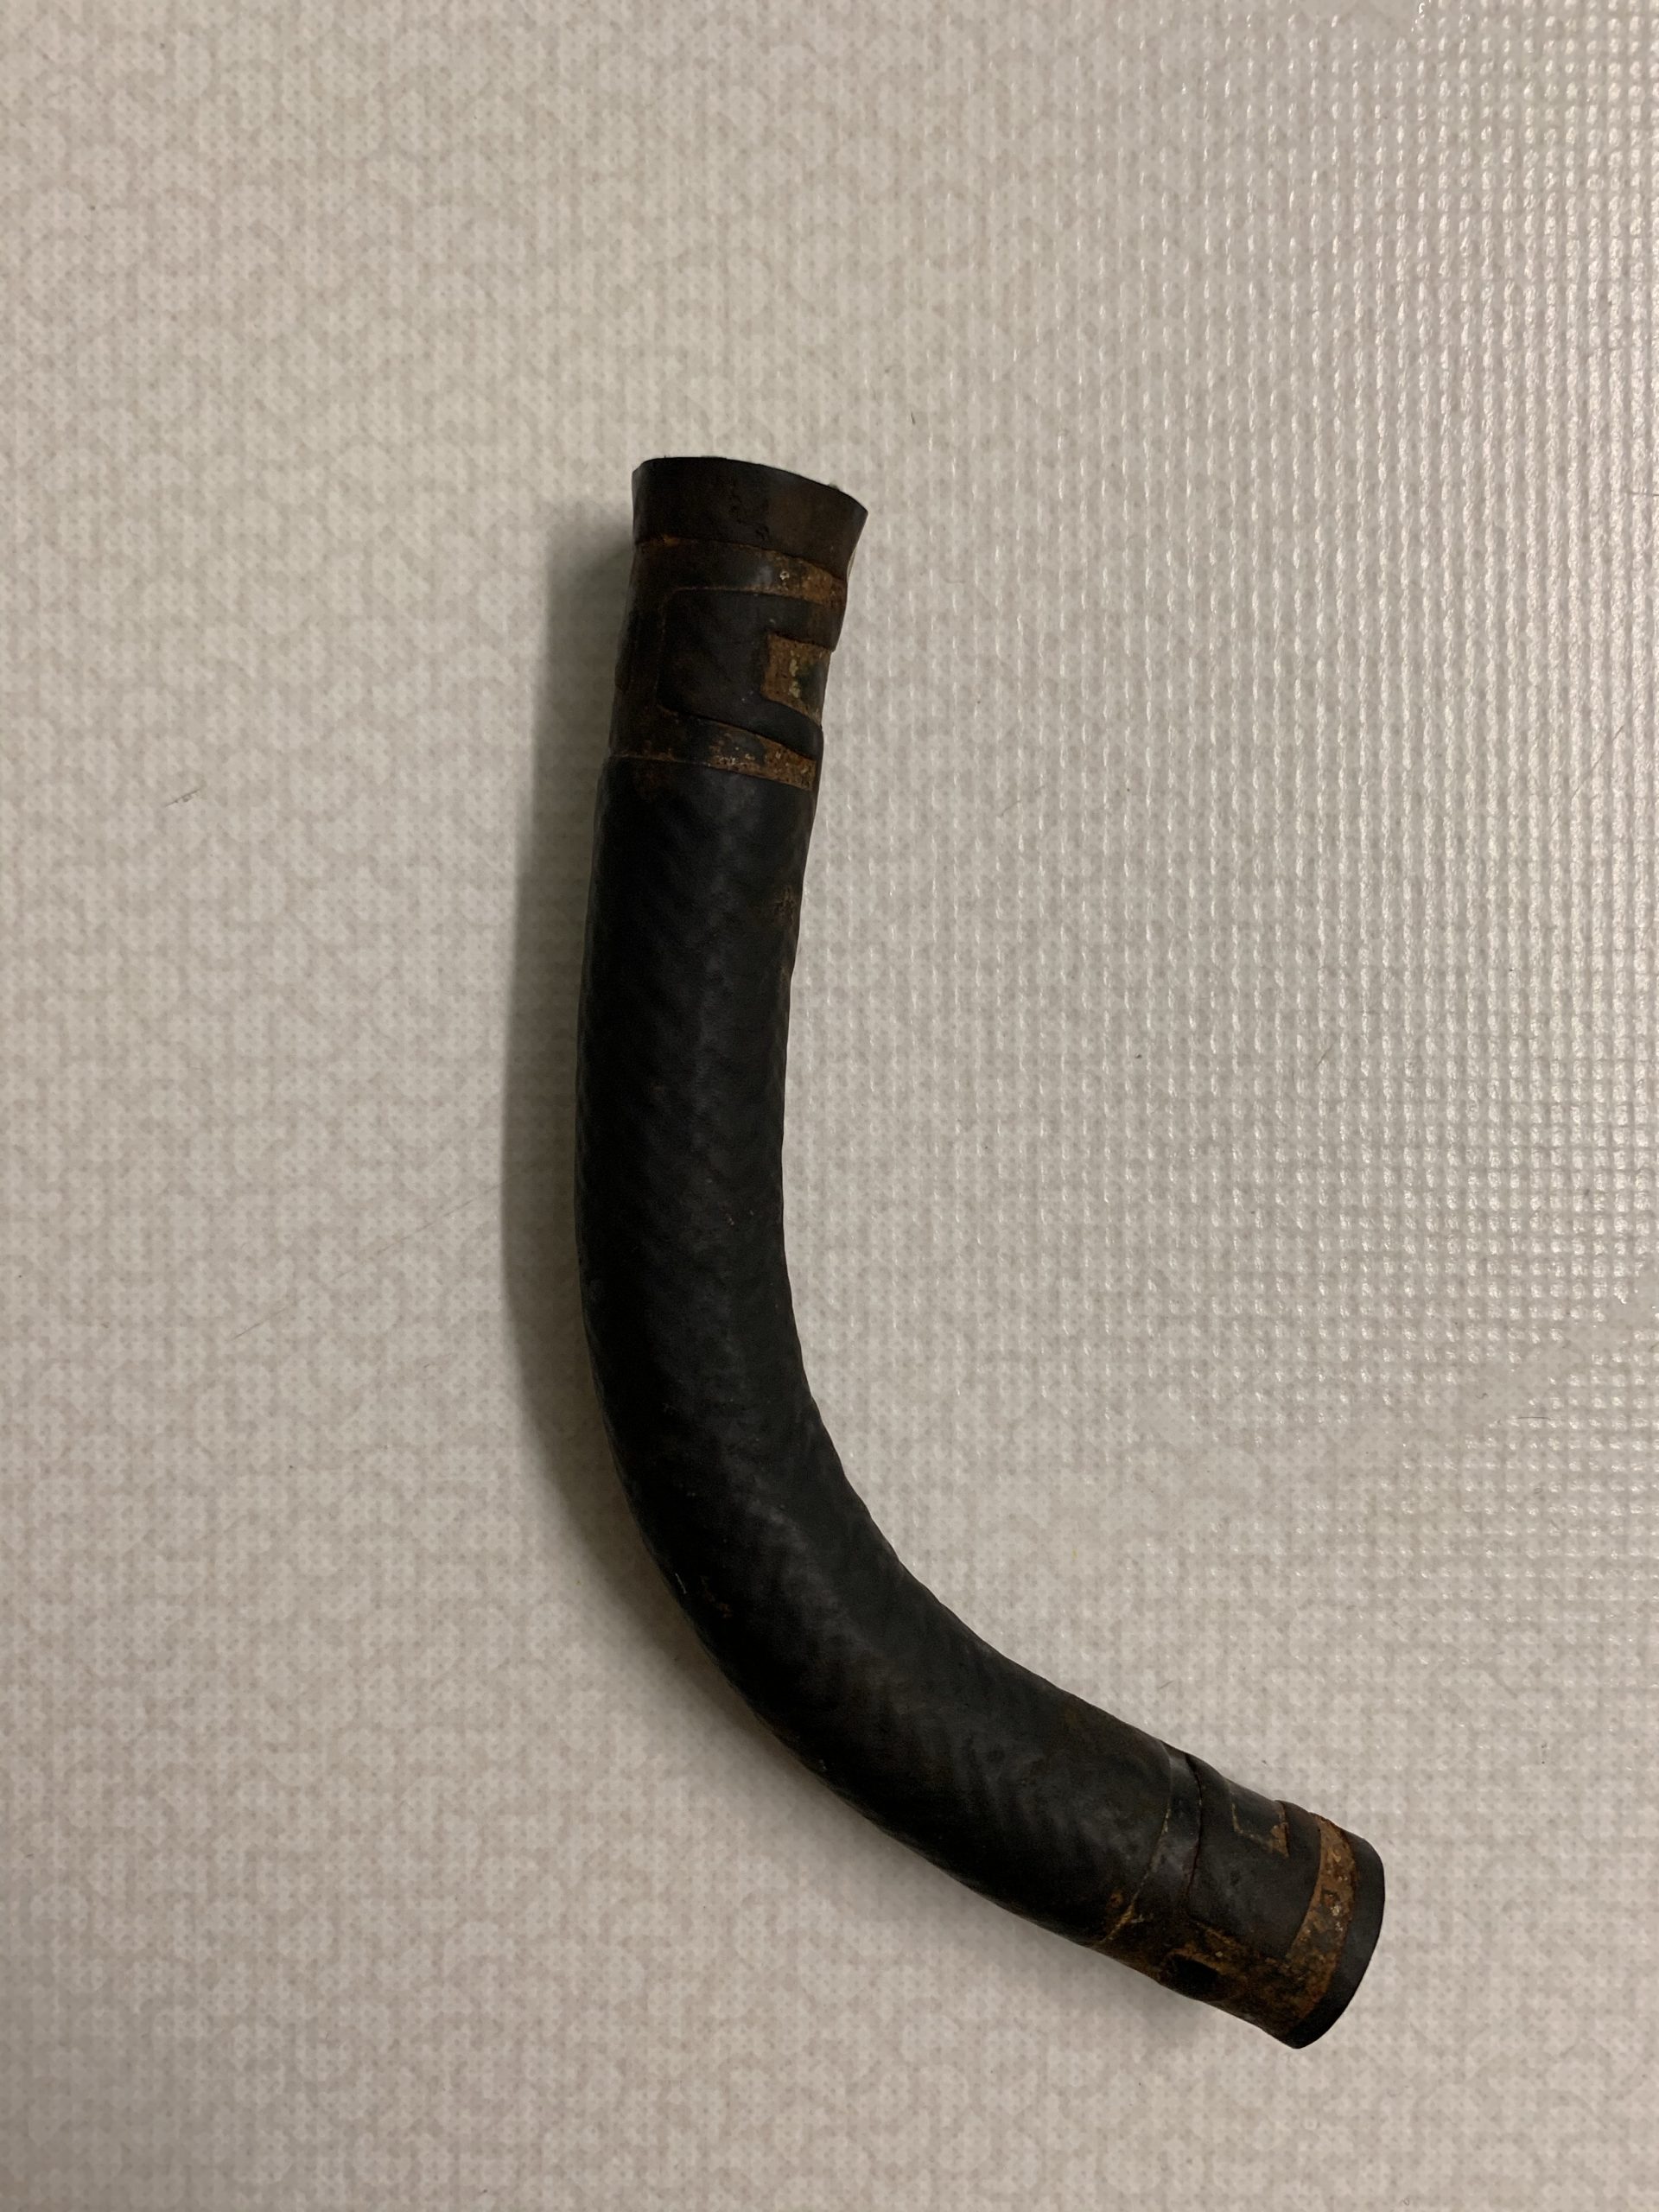
Reality- pull the sensor:
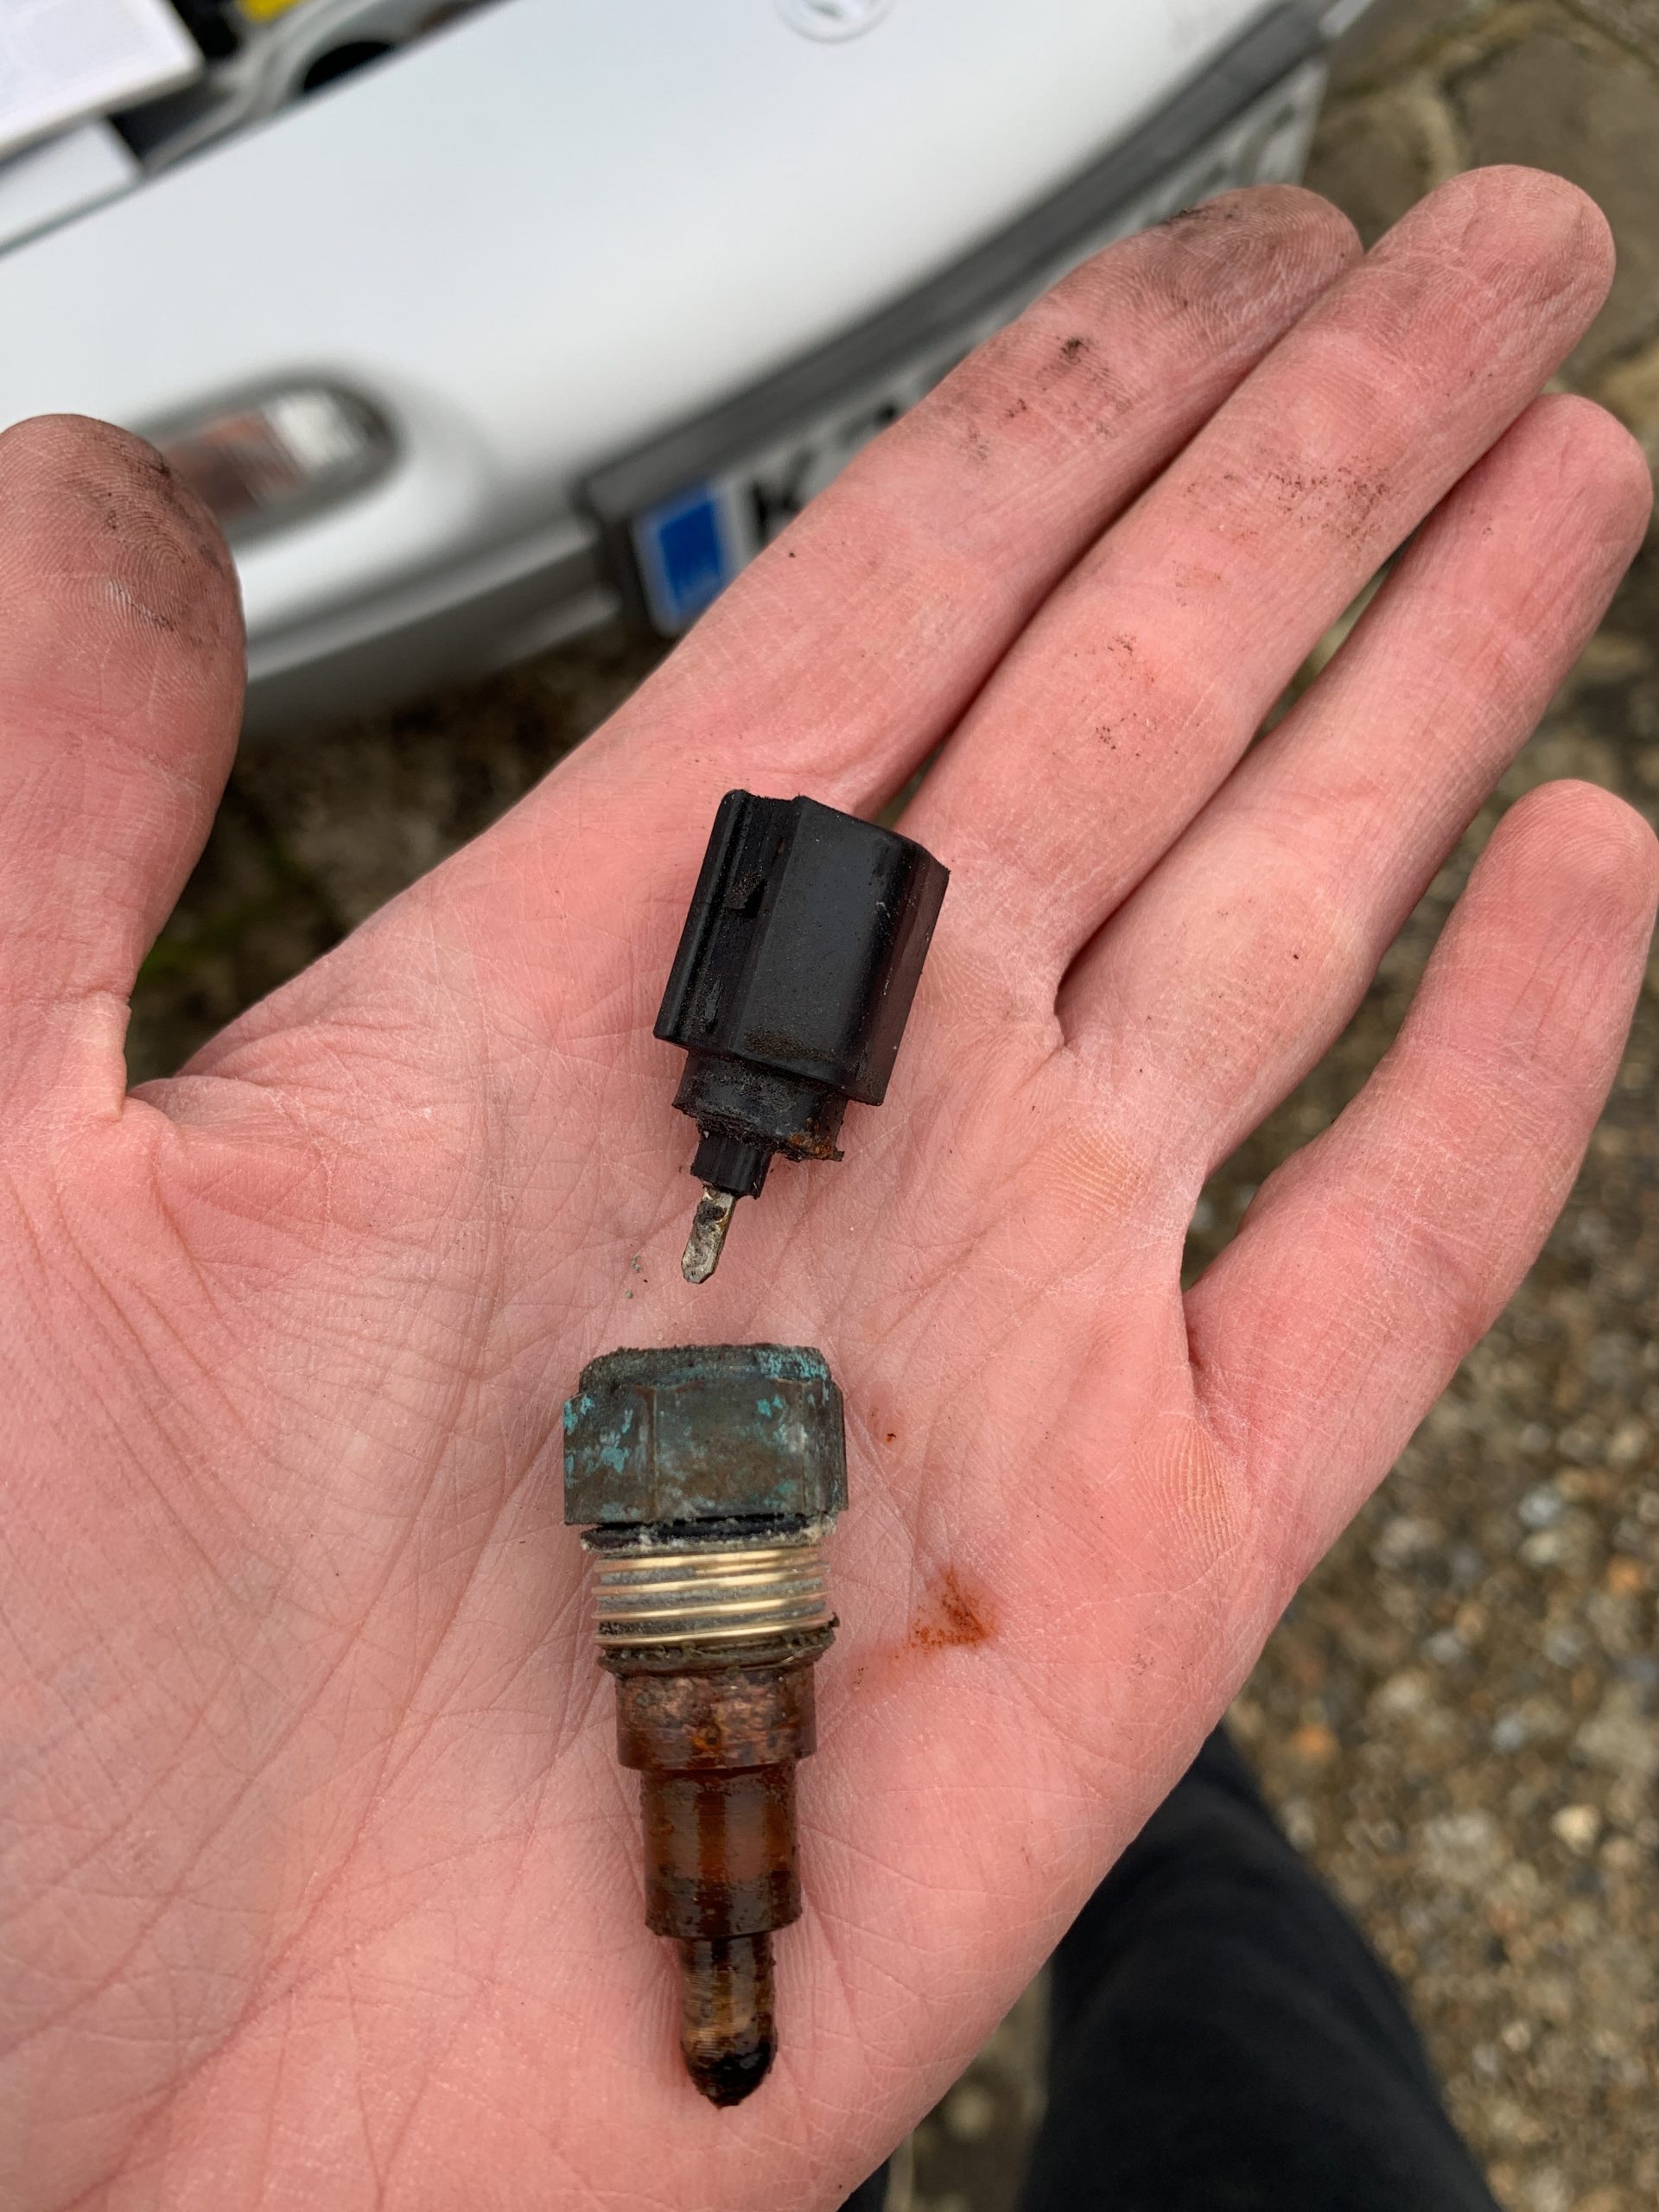
Oh dear.

New sensor about £12 on eBay- ordered- trivial to fit.

Categories
Uncategorised

New Wheels!

Since the old tyres needed replacing, and the wheels looked a bit tired, I got a new set of wheels pre-fitted with tyres.

Out with the old…
And in with the new.

Big improvement I think!

Categories
Uncategorised

Draining the Fuel

When a car has been sitting around for years, the fuel can apparently go bad. It was pretty clear that draining the fuel would be one of the early jobs necessary to do.

I’ve never really handled petrol before, so given the flammability this one was a bit of a ‘take it slow, go carefully’ job.

Fortunately draining the fuel tank is pretty easy on the MX-5- it’s just a plug in the form of a bolt in the bottom of the tank, which is reasonably easy to access from underneath by the back left wheel. Jacking up the car on to an axle stand helps a lot here.

A total of 16 litres of petrol drained out, and I used a cheap ‘fluid catcher’ tray/tank off eBay to catch it and decant into some old petrol cans.

It’s advised to change the fuel filter while you’re doing this job- it’s behind a plastic cover on the opposite side of the underneath of the car- a couple of hoses to undo (and some more petrol down my sleeve…) – a stubborn clamp, and a new and inexpensive filter fitted fairly easily.

5 litres of fresh unleaded in the tank- turned the key, started right up! This was a pretty exciting moment.

Categories
Uncategorised

New Battery

One of the first jobs was to put a new battery in. Maybe in a sign of things to come, fitting it wasn’t as straightforward as it should have been!

On pulling out the old battery I found a bit of surface rust under and around the battery tray. Some Kurust to stop the rust spreading, a rub down, some primer, silver then lacquer, then a few days to cure before refitting the battery tray.

The new battery wasn’t an exact fit for the tray, despite coming from mx5parts.co.uk, which is a bit annoying. For now I have made some simple spacers to stop it from moving around. On top of that, part of the clamp was missing so I had to order a new part in.

While I was there I fitted a battery disconnect switch, which prevents the battery from discharging from things like the immobiliser while it’s sitting. Even this wasn’t straightforward, with the clamp on that being marginally too large to clamp securely- I ended up padding that out slightly with some copper braid.

Nice to see the electrics alive though 😎

Categories
Uncategorised

The Project

This is my old MX-5! It’s a 1993 Mk1 and is pretty much stock.

It’s been stored, garaged where you see it, for about 8 years. The time has come to get it back on the road. I used to do much of the work on it myself, and it’s been a while since I’ve played with cars, so why not.

Being picked up to be trailered to its new home:

Bit of a tight fit getting out…

And…. rescued! The roof is a bit cracked around the edges and so isn’t watertight, so I’ve picked up a lightweight cover for it to keep the worst of it out. I’ve also put one of those calcium chloride damp-absorbing things inside to stop moisture accumulating.

A quick look over suggests it’s not done too badly in hibernation – I think the porous concrete floor of the garage was damp so there’s a fair bit of surface rust in the engine bay and on the running gear, but the wheels weren’t badly seized, the brakes and clutch seem okay, and the interior is fine. There’s some pre-existing body rust too, but it doesn’t seem any worse than I remember it and I’ve not found anything structural.

At this point after so long in hibernation it’s a non-runner. The battery is obviously toast, there’s an unknown amount of fuel in the tank that’ll need to be disposed of, and while the tyres still hold air fairly well, aside from being old, they’re also mismatched and well worn.